| |
 N&V Tip of the month N&V Tip of the month
First of all when a remark comes on the roughness of the surface on a casting over the phone, it is already not so easy to imagine what is meant by roughness, so a little bit more specification can help a great deal:
1/ The casting comes a bit rough out of the investment and I have a hard time sand blasting the metal: this is a clear indication of overheated metal. The metal is for that not burned but it is overheated. The best way to check if the metal was cast at the right time is to just pass your finger over the button or cone of the casting. If the edge feels sharp, the metal was heated to mush. The edge should be rounded as a clear indication of the right casting temperature. As a result of casting at the right temperature the castings will come clean of investment with just some oxidizing on the metal depending on the kind of metal used. After sand blasting I have a couple of edgy rough spots on the casting:
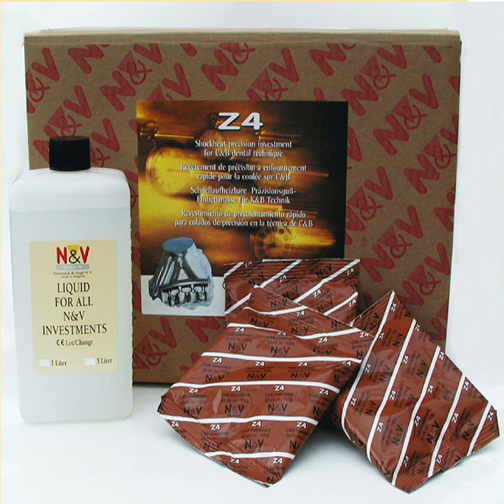
2/ In this case it is perhaps not bad to have a look at your wax pattern under microscope before investing. Sometimes one is surprised to see how many dust particles are on the surface of the pattern. It may be gypsum dust, grains of sand blasting material or any other scrap sticking to the wax. By using Z4, a very fine flowing investment that reproduces every detail, the scrap will be perfectly cast and visible on the surface of the casting. Cleaning the wax before investing with dry air or water may be the solution here. Better still is to work in a clean environment for waxing up. Ideal is to not wax up on the same spot as where you finish the metal!
3/ I have little round bubbles on my crowns, on the outside only: indeed little round gas bubbles. Clear indication for lack of vacuum or not enough vacuum. Mixing under vacuum is not so mush needed to evacuate the air in the bowl as to evacuate the gasses that that are produced in the beginning of the chemical reaction that takes place while mixing the investment. If not efficiently evacuated these little gas bubbles rise in the cylinder after pouring and will stick to the outside of the crowns facing downwards in the cylinder. It is a good idea to now and then check if your vacuum mixer really works well regardless of what the needle or the digital indicates. For that just switch on the machine with no bowl hanging on it. If even then the needle moves to vacuum, its time to clean the filters! Another way of checking if vacuum was sufficient is to harden the investment under pressure in a pressure pot. If in that case no bubbles, check the vacuum machine!
4/ I have little round bubbles on my crowns inside and out : the vacuum problem is certainly also in play here but there is a strong suspicion of extra gassing due to an extra chemical reaction of a strange product to the investment. In most cases the debubbliser used may be the cause. Especially these products that are sprayed to the wax before investing have to be handled with precaution. The wetting agent of these products is mostly some kind of alcohol and these products tend to turn bad over night. Also rests of gypsum isolating material may remain on the inside of the wax-up. Since these products are often greasy they will strengthen the hydrophobic tendency of the wax, causing difficulties for the investment to flow well inside the crown. So here again it is important to invest clean wax-ups free of grease or chemical substances and to only invest dry wax-ups. Avoid debubblizers but eventually use degreasing agents to clean the wax. Always blow dry before investing!
Last but not least:
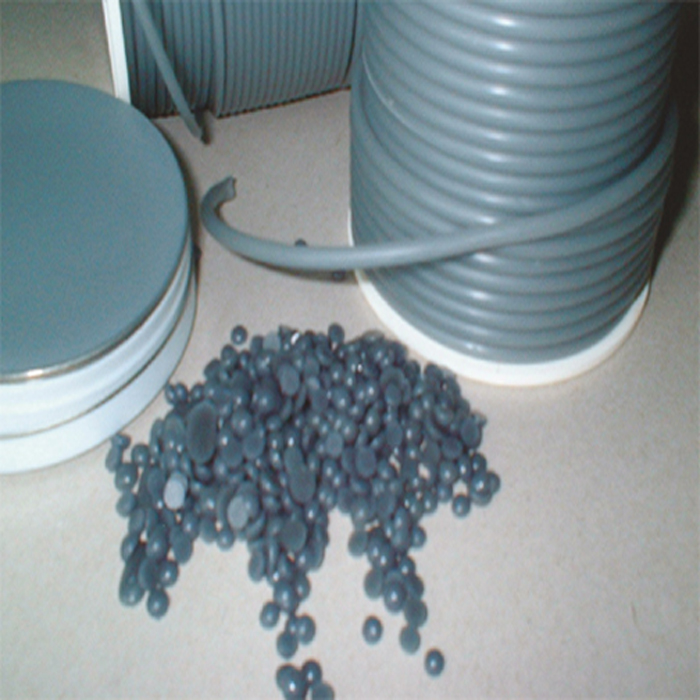
The use of wax for modeling and not resin filled waxes or resin is preferred when using rapid-cast procedure. Especially composed waxes like Gray-Dip and Gray-Mod, with low melting point will assure for perfect and fast wax evacuation so as to not damage the investment or contaminate the metal.
Summarizing: vacuum mix well, invest clean wax-ups
| Zurück | |